Virtual server setup:
- Setup virtual server
- Enable DMARC by going to Virtualmin –> server configuration –> DNS options and check DNS records.
- Enable SPF records too.
- PHP setup:
Install / upgrade phpmyadmin
- goto any domain in virtualmin
- under “system settings” -> “webapp installer”
PHP Settings:
- Virtualmin –> server configuration –> PHP options.
- Change to php-fpm by checking FPM.
- To check PHP_info, click the button next to the version in PHP options.
Changing PHP.ini:
- Webmin -> File Manager -> etc/php/php <version>/php.ini
- change settings (example: Max File Upload Size = 25M).
- Note: Post Size must be bigger than Max file upload size.
- Restart Apache Service or Reboot server.
WordPress Write Issue/FTP Login Issue:
- Always use PHP-FPM and not FCIG for wordpress PHP.
Check Apache Error Log:
- goto Logs and Reports.
- check Apache error log.
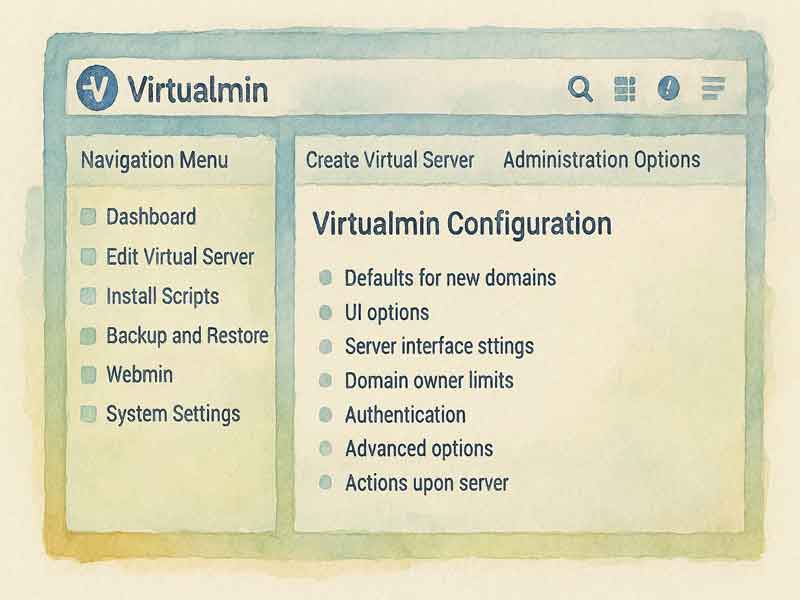
Virtualmin re-check configuration to ensure Virtualmin is ready:
- Under Virtualmin System Settings -> Re-check configuration.
- Rerun Wizard is also under System Settings.
PHP Install & Enable Module (Ubuntu 20.04).
Note: *To install multiple PHP, check virtualmin document at Configuring Multiple PHP Versions | Virtualmin — Open Source Web Hosting Control Panel
- Login to the server using putty.
- # apt-cache search (example: apt-cache search zip) to search for zip module or (example: apt-cache search intl) to search for intl module.
- # sudo apt install -zip as per-shown in search (example: sudo apt install php8.1-zip or apt-install php8.2-curl).
- # phpenmod -v zip (example: phpenmod -v 8.1 zip or phpenmod -v 8.2 curl) – phpenmod is enable php module.
To install extension to a particular php version: #sudo apt-get install php8.2-curl or follow above example apt-install
(Reference: https://tecadmin.net/enable-disable-php-modules-ubuntu/)
Extra notes:
- phpenmod – Used to enable modules in PHP
- phpdismod – Used to disable modules in PHP
- phpquery – Used to view status of modules of PHP
Page Error 500:
- Option +FollowSymlinks not allowed here
- change to Option +SymLinksIfOwnerMatch in htaccess file
Start Or Restart Webmin in Command Line:
- Login PUTTY.
- sudo /etc/webmin/start or sudo /etc/webmin/restart.
Change Document Index:
- To change priority of document index in server
- got Services (Virtualmin) -> Configure Website -> Directory Index -> Directory Index Files
Webmin MySQL User-Pwd:
- check this page webmin/mysql Database Server/Change Admin Password.
- For other users goto individual domain and change from virtual server user under Edit Virtual Server
Change Theme Color
- To change theme or configure theme, left-menu -> under “Theme Configuration” -> next to Login Name.
- To change default loading pages for Webmin and Virtualmin -> General Defaults
Website Redirect
- goto website redirect
- URL source: “/” for whole site
- Destination to system directory: /home/domain/public_html/subfolder/
Virtualmin Repository (Also See After Upgrade to Ubuntu 24)
In Putty use command : virtualmin setup-repos OR goto Troubleshooting Repositories | Virtualmin — Open Source Web Hosting Control Panel
After Upgrade to Ubuntu 24
Just to let anyone interested know that on the 29th August 2024, Ubuntu released the 1st update of 24.04.1 LTS, and servers can be upgraded from 22.04 LTS to 24.04 LTS via terminal.
The JumpCloud website has a pretty good “how to” section, if anyone is interested.
How to Upgrade from Ubuntu 22.04 LTS to Ubuntu 24.04 LTS – JumpCloud 35)
I have updated 6 servers so far (all using Virtualmin gpl), and each upgrade has taken about 20-30 minutes. I always back up offsite, just in case there are issues, but no need to re-install so far.
There were four issues I came across after the install’s were completed, and all were easily corrected, either via terminal, or in Virtualmin.
The 1st issue was that the Cyrus SASL Authentication Server would not start. This
needed to be linked between postfix and saslauthd. This was fixed in terminal by using the symbolic link as follows:
ln -s /var/spool/postfix/var/run/saslauthd /var/run/saslauthd
In the Virtualmin Servers status area, restart the SASL server, and at least for all six of my upgrades, the SASL server restarted with no issues.The 2nd issue was that permissions need to be set/checked for the following folder (folder only)
/var/spool/postfix/var/run/saslauthd and set permissions to 0755 (- -rwxr-xr-x) (The folder permissions were initially set at 0710, which only allowed root access, not group access, such as postfix/sasl. Ubuntu 22.04 LTS had this correctly set to 0755)The 3rd issue is not really an issue, but after the install, in the system
settings area of Virtualmin re-run the “re-check configuration”. At least for me, all
was well except I needed to setup the virtualmin repos again (version 24.04
tweeked the repos area, so old setup did not work)
From terminal, just type:
virtualmin setup-repos
This quickly re-linked the virtualmin repos.And, the last issue was that on a few of my older servers, the FPM portion of PHP was not found. This was remedied by going to to the PHP Options section under Web Configuration, and re-saving. So if your web page is not accessible after upgrade, this may be why.
All in all, a fairly smooth transition to the new kernel. Supposedly this LTS version is good for 12 years, instead of the usual 5.
Update to 22.04 LTS to 24.04 LTS Upgrade:
The info originally posted allowed for a successful upgrade from Ubuntu 22.04 LTS to 24.04 LTS.
What I found was that the SASL Authentication Server would still not automatically start after a reboot, so I checked into this a bit further.
What I discovered is that the upgrade from 22.04 to 24.04 did not create a key directory and associated file for the new 24.04 LTS SASL server configuration.
In the /etc/systemd/system directory create a new directory called saslauthd.service.d (0755 permissions). Within the new directory, create a new file called override.conf (0644 permissions). Open the file and enter the following info:
[Service]
PIDFile=/var/spool/postfix/var/run/saslauthd/saslauthd.pidSave the file.
In the Webmin tab, under System, Bootup and Shutdown, scroll down to saslauthd.service, click on it, and make sure that this service is set to start at boot time.
Save settings.
Once the service is started, you should be good.
To be sure I rebooted my system to verify the SASL Authentication server came online without any further intervention. This worked for my system.
reference: Ubuntu 22.04 LTS to Ubuntu 24.04 LTS upgrade – General Discussion – Virtualmin Community
Email Spam Filter by User
Goto Virtualmin->Email Settings->Spam & Virus Scanning
Website Redirect
- Goto web configuration -> website redirects
- setting -> source url path = “/” or any path “/vcard/” or add “/dav” (for Web Distributed Authoring and Versioning)
- set the destination = standard to redirect all http and https is “https://domain_name/$1” or “home/domain_name/public_html“
- can double check the destination file in “/etc/apache2/sites-available/domain_name.conf” to confirm the redirection.
Change Server Owner Password
- Goto Virtual Server (select Domain) -> Edit Virtual Server
- Change Administrator password.
- Note: current Administrator password is also visible (if no encryption)